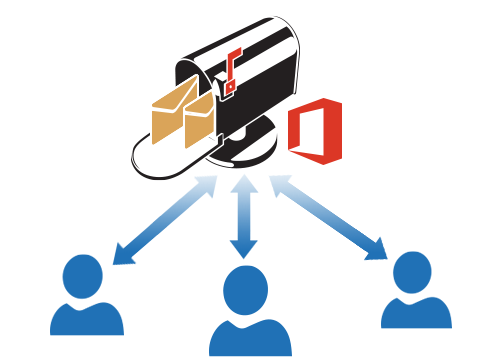
Office 365 Shared Mailboxes
Connecting a Shared Mailbox to Outlook in Office 365
A shared mailbox in Office 365 allows multiple users to access and manage a common email address, such as info@company.com or support@company.com. This is useful for team collaboration, where several users need to send, receive, or monitor emails from the same account. Here's a detailed explanation of how to connect a shared mailbox to Outlook in Office 365.
Prerequisites
Permission Access:
- Ensure you have been granted access to the shared mailbox by your Office 365 administrator. Permissions can be granted as either Full Access or Send As/Send on Behalf Of.
Outlook Application:
- Make sure you are using a supported version of the Outlook desktop app or Outlook Web App (OWA).
Steps to Connect a Shared Mailbox in Outlook
For Outlook Desktop App:
Open Outlook:
- Launch the Outlook application on your desktop.
Add the Shared Mailbox:
- Go to File > Account Settings > Account Settings.
- Select your email account and click on Change.
- Click More Settings and go to the Advanced tab.
- Under Open these additional mailboxes, click Add, then enter the name or email address of the shared mailbox.
- Click OK, then Next, and finally Finish to save the changes.
Restart Outlook:
- Close and reopen Outlook. The shared mailbox will now appear in your folder list under your primary mailbox.
For Outlook Web App (OWA):
Log into Office 365:
- Open a web browser and log into your Office 365 account via outlook.office.com.
Access the Shared Mailbox:
- Click on your profile icon in the top-right corner and select Open another mailbox.
- Type the email address of the shared mailbox and click Open.
Add as a Permanent Mailbox (Optional):
- Open Settings > View all Outlook settings > Mail > Accounts > Shared mailboxes.
- Select the shared mailbox and choose Add to my mailbox.
- The shared mailbox will now appear in your mailbox list in OWA.
Using the Shared Mailbox
Sending Emails:
- When composing an email, you can select the shared mailbox address as the sender by clicking From and choosing the shared mailbox.
Receiving Emails:
- Emails sent to the shared mailbox will appear in its Inbox folder.
Calendar Management:
- Shared mailboxes often include a shared calendar, which team members can use to schedule and coordinate events.
Folder Management:
- Users can create folders, move emails, and organize content within the shared mailbox.
Troubleshooting Tips
Access Issues:
- If the shared mailbox does not appear, confirm with your administrator that you have the required permissions.
Delayed Sync:
- Sometimes, it can take a few minutes for the shared mailbox to sync after being added. Restarting Outlook can help.
Mobile Access:
- On mobile devices, you may need to set up the shared mailbox manually as an additional account.
Benefits of Using Shared Mailboxes in Office 365
- Centralized Communication: A shared mailbox provides a single point for team communication.
- Cost-Effective: It does not require an additional license; it's included with Office 365 subscriptions.
- Collaboration: Multiple users can collaborate on the same mailbox without compromising individual account security.
- Efficiency: Shared folders and calendars streamline team workflows and reduce email clutter.
By connecting a shared mailbox to Outlook, you can enhance collaboration, improve team efficiency, and maintain centralized communication for your organization.
